

By Lance McCarthy
Ever have a room that needs painting? You stand there and think, “I can paint this. Tonight after dinner. I’ve got a brush and a roller, how hard could it be?”
Famous last words. It’s happened to me too. The project always seems smallest just before you start.
If that describes you, but you are the “soldier on no matter what” type of person, or even if you hire it out but want to be able to make sure it is being done right, here are some tips to help on the most important and challenging aspect of painting–trim.
Let’s be honest. Painting ceilings is pretty easy, just don’t miss a spot. Walls are not bad, just use the right roller in the right pattern and cut clean lines. But trim. Trim. Trim. TRIM. That’s a different story. Trim and doors get the most abuse, and are the most visible in many ways.
Steps:
- Go around and clean all the dirt and grime off the trim (and if you have kids or dogs, it is probably a lot!)
- Do a lead test on the surfaces you will be painting if your house is older than 1978. Especially if you have kids. Sanding and scraping lead paint is a big no-no if you are into things like healthy kids.
- Protect everything. Painting is messy, so use plenty of tarps, plastic and tape to cover the stuff that doesn’t get paint. You’ll thank me.
- Sand down the rough spots (a palm sander comes in handy here) using 80 grit, then 100, then 160.
- Fill all the dings and holes with a wood filler. If you want to do it like a pro, use Bondo. Once this hardens you will need to sand it too.
- Caulk all the cracks. Between each piece of trim, and between the trim and the wall/ceiling. Just not between the trim and the floor. If you want to do it like a pro, use Shermax. It is 4x the cost of the cheap stuff, but does 4x as good a job!
- Prime everything. This will help even up the final coverage.
- Still see flaws? Feel free to repeat the wood filler-sand-prime steps.
- Paint your first coat. My painter uses Sherwin Williams ProClassic Semi-gloss enamel for the trim paint.
- Still see any flaws you don’t want? It’s not too late for a little final sanding or putty, just make sure you re-prime those areas to keep them from “flashing”.
- Paint the second coat.
- If you are still full of vim and vigor, throw a third coat on there for fun. Then come over to my house and I have some things you can paint.
Feel like a lot of steps? That’s why some painters cost more than others. The cheaper guys are doing fewer of these steps.
Tips:
- Spraying will almost always give you a better finish product on trim. As long as the person holding the spray gun is good at their job.
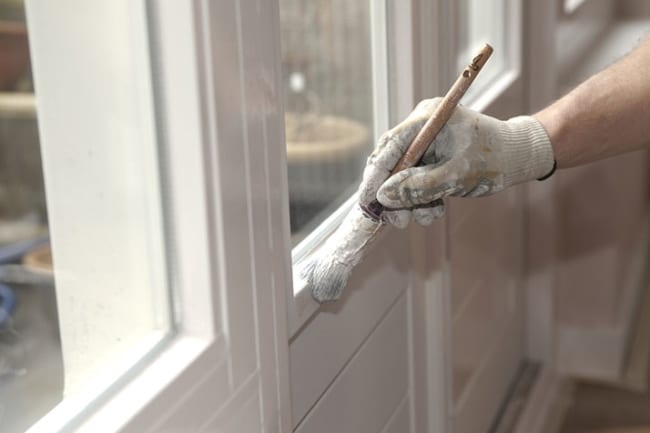
- If you are using a brush, hold it like a pencil instead of a hammer for better control.
- Use shorter strokes to get the paint on, then one long straight stroke to make it look smooth.
- Keep that brush clean. If paint starts drying on the brush, that means you aren’t using it right. Stop and clean it off. I mean really clean it off. Then start again.
- Have some good music playing while you work, and try to do a dance move every few minutes using the brush as a microphone. It helps. Trust me.